


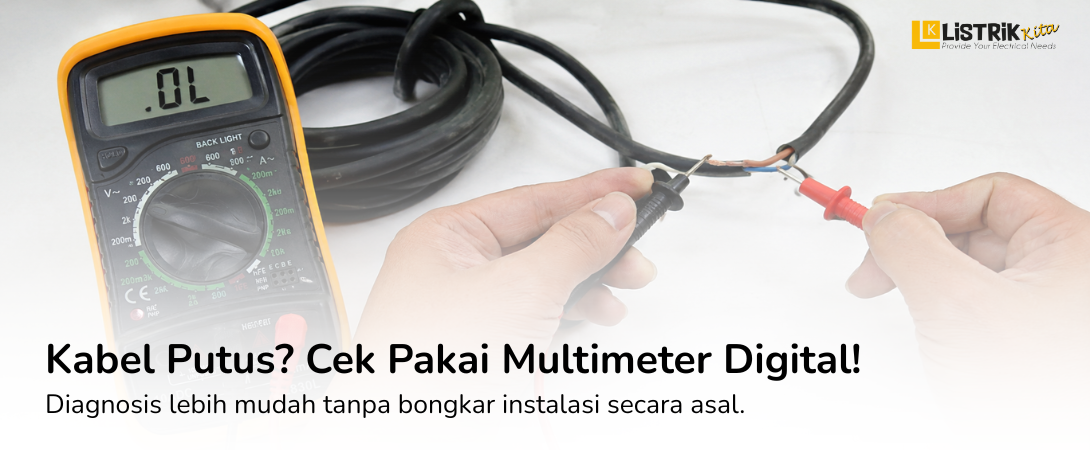
Electrical cables play an important role in every electrical installation. When a wire breaks, electricity can no longer flow properly, causing electrical equipment to stop working. The damage is often hidden, as the conductor inside the cable may be broken while the outer insulation still looks perfectly fine. A digital multimeter makes it easy to identify whether a wire is still connected or has been damaged internally. By following the correct procedure, you can perform the test safely, quickly, and accurately.
Why Do Electrical Wires Break?
Common Causes of Broken Wires
Several factors can cause a wire to fail over time:
- Frequent bending or twisting that damages the conductor.
- Aging cables with worn conductors and insulation.
- Damage caused by rodents or other animals.
- Electrical overload that generates excessive heat.
- Corrosion due to moisture or harsh environments.
Signs of a Broken Wire
You may notice these symptoms when a wire is damaged:
- Electrical equipment does not turn on.
- Lights flicker or suddenly go out.
- No electrical current reaches the device.
- Electrical readings become unstable.
If you notice these signs, inspect the cable with a digital multimeter before replacing other electrical components.
Tools You Need Before Testing a Wire
Prepare a Digital Multimeter
Use a digital multimeter with Continuity or Resistance (Ω) mode. Continuity mode is useful because the multimeter beeps when the wire has a complete electrical connection. Also, make sure the multimeter battery is in good condition for reliable readings.
Disconnect the Power Source
Before testing, switch off the circuit breaker and disconnect the cable from the electrical circuit. Never measure a live wire because it may damage the multimeter and create a safety hazard.
How to Check a Broken Wire with a Digital Multimeter
1. Prepare the Multimeter
Turn on the digital multimeter and set the selector to Continuity or Resistance (Ω) mode. Either setting can be used to determine whether the conductor is still connected.
2. Test the Multimeter Probes
Touch the red and black probes together.
If the meter beeps or displays a very low resistance value, the probes and the multimeter are working correctly. If there is no response, check the battery and probe connections before continuing.
3. Connect the Probes to Both Ends of the Wire
Position the red probe at one end of the wire and the black probe at the opposite end. Make sure both probes touch the metal conductor instead of the insulation to obtain an accurate reading.
4. Read the Measurement Result
Once the probes are properly connected, check the reading on the display.
Good Wire
If the multimeter beeps in continuity mode or shows a very low resistance value close to 0 Ω, the wire is still in good condition and electricity can flow through it.
Broken Wire
If there is no continuity beep and the display shows OL, 1, or an extremely high resistance value, the conductor is broken. The cable should be repaired or replaced to ensure safe electrical operation.
Common Mistakes to Avoid
Testing a Live Wire
Never test a wire while it is connected to a power source. This can damage the multimeter and create a serious safety risk.
Poor Probe Contact
If the probes do not touch the metal conductor properly, the reading may be inaccurate. Always ensure good contact with the conductor.
Selecting the Wrong Measurement Mode
Using the wrong setting may produce incorrect results. Always use Continuity or Resistance mode when checking a broken wire.
Tips for More Accurate Measurements
Clean the Wire Ends
Remove dirt, corrosion, or oxidation from the wire ends before testing to improve electrical contact.
Use a Reliable Multimeter
A multimeter in good condition with a fully charged battery delivers more accurate and reliable measurements.
Test More Than Once
Repeat the measurement if necessary to confirm the condition of the wire.
When Should You Replace a Wire?
The Conductor Is Broken Inside
A cable with an internal break should be replaced instead of repaired whenever possible.
The Cable Shows Corrosion or Burn Marks
Replace any cable with visible corrosion, melting, or burn damage to reduce the risk of electrical failure.
The Insulation Is Damaged
Cracked, hardened, or torn insulation is another sign that the cable should no longer be used.
Checking a broken wire with a digital multimeter is simple when you follow the correct steps. Prepare the multimeter, test the probes, connect them to both ends of the wire, and read the result. A good wire produces a continuity beep or a very low resistance reading, while OL, 1, or a very high resistance value usually indicates a broken conductor.
If you are looking for a reliable digital multimeter for home, commercial, or industrial applications, explore the selection available at Listrik Kita. Choosing a high-quality multimeter helps you perform electrical testing safely, accurately, and with confidence.
