


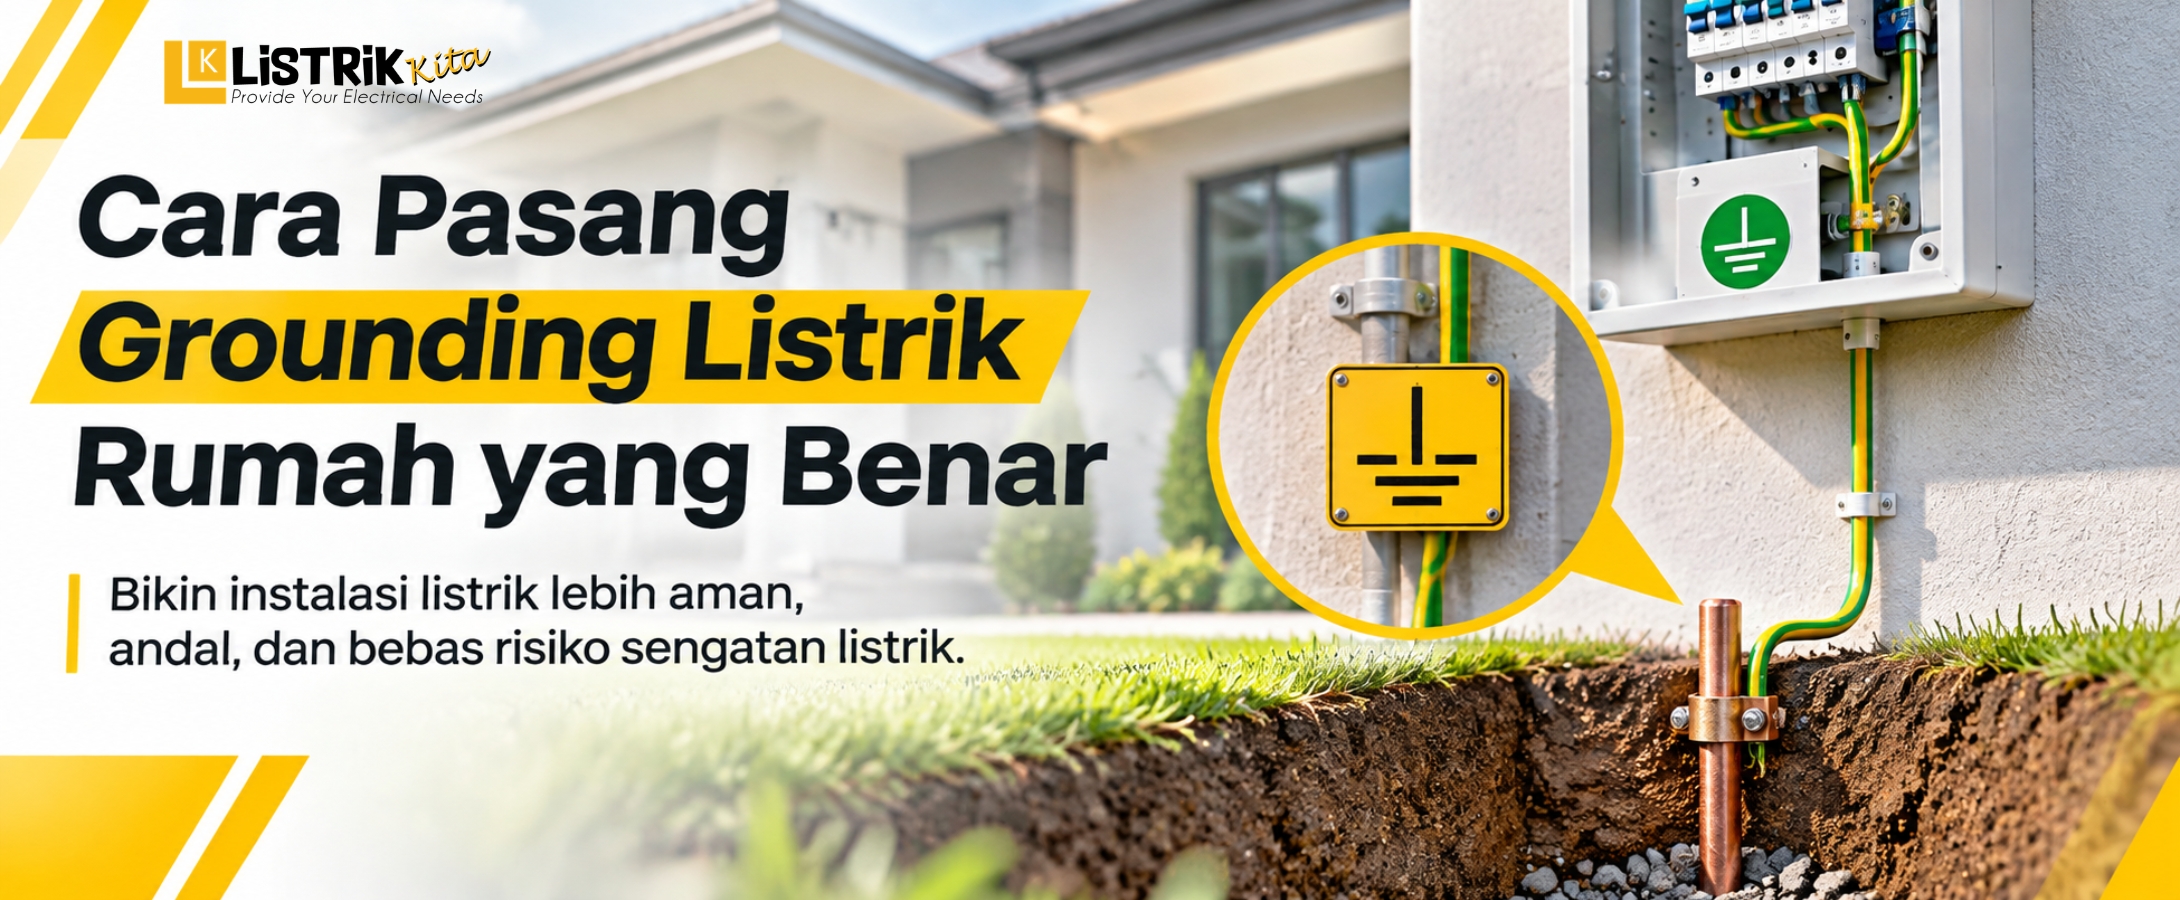
Listrik Kita is an official Hioki partner that provides original and warranted products. In a home electrical installation, choosing the right protection devices is important, but the grounding system should not be overlooked. Grounding provides a safety path that directs unwanted electrical current into the earth. When installed properly, it can help improve the safety of a home's electrical system.
Grounding is usually connected to the grounding terminal in an electrical panel or to electrical outlets that require a grounding connection. However, installing a grounding system is not simply about driving a metal rod into the ground. The location of the grounding rod, the quality of cable connections, and the grounding resistance value all need to be considered.
What Is Electrical Grounding?
Electrical grounding is a system that connects an electrical installation to the earth through a grounding conductor and grounding electrode. During certain fault conditions, it provides a path for fault current to flow into the ground, helping reduce the risk of electric shock and electrical equipment damage.
Why Is Grounding Important for Electrical Installations?
Electrical equipment and home wiring can experience faults caused by current leakage or insulation problems. Without a proper grounding system, certain exposed metal parts of electrical equipment may become energized during a fault.
Grounding is therefore an important part of electrical safety. However, grounding does not replace MCBs, RCBOs, or other protection devices. These systems should work together as part of a properly designed electrical installation.
Grounding Functions for Home Safety
Grounding provides a path for fault current to flow safely into the earth. It can also help reduce the risk of dangerous touch voltage on exposed metal parts of electrical equipment during a fault. For this reason, the grounding system should be checked regularly, especially after electrical modifications or additional loads are installed.
Tools and Materials for Grounding Installation
Before starting the installation, prepare the necessary tools and materials so the work can be completed properly.
Grounding Rod
A grounding rod is a grounding electrode installed in the soil. It provides the connection between the grounding system and the earth. Choose a grounding rod with a suitable material and size for the electrical installation.
Grounding Cable
The grounding cable connects the grounding rod to the grounding terminal in the electrical installation. Its type and size should match the installation design and applicable electrical requirements.
Grounding Clamp
A grounding clamp is used to secure the grounding cable to the grounding rod. The connection should be tight and provide good electrical contact.
Conduit Pipe
A conduit pipe protects the grounding cable from physical damage. It also helps keep the cable route neat and organized.
Hammer or Digging Tool
A hammer can be used to drive the grounding rod into the soil. A digging tool or other suitable equipment can help prepare the installation area depending on the site conditions.
How to Install Electrical Grounding at Home
Once all tools and materials are ready, the grounding system can be installed in several steps. Make sure the work is performed safely and the electrical installation is de-energized during installation.
1. Choose the Grounding Rod Location
First, choose a suitable location for installing the grounding rod. Soil conditions should be considered because the characteristics of the soil can affect grounding resistance.
Choose an area where the rod can be installed properly and where the grounding cable can be routed toward the electrical panel. Avoid locations that may interfere with underground utilities.
2. Drive the Grounding Rod into the Soil
Drive the grounding rod vertically into the soil using a hammer or suitable tool. Make sure the rod is firmly installed and does not move easily.
The required installation depth depends on soil conditions and the grounding system design. If the measured resistance remains too high, a qualified technician should evaluate the system and determine the appropriate grounding method.
3. Connect the Grounding Cable to the Rod
After installing the grounding rod, connect the grounding cable using a grounding clamp. Make sure the connection is tight and the contact surface is clean and secure.
A loose connection can increase resistance at the connection point and may reduce the reliability of the grounding system. Check the clamp carefully before routing the cable toward the electrical panel.
4. Route the Cable to the MCB Box or Outlet Terminal
Route the grounding cable from the grounding rod to the MCB box or grounding terminal of the electrical outlet according to the installation design. Use a conduit pipe to provide additional protection for the cable.
Make sure the grounding cable is not confused with the phase or neutral conductor. The grounding route should be installed neatly and follow applicable electrical installation requirements.
5. Measure Grounding Resistance
The final step is to measure the grounding resistance. This measurement is important to determine whether the grounding system provides a suitable result for the installation.
The measurement can be performed using an earth tester or earth resistance tester. Do not assume that the grounding system is adequate simply because the grounding rod has been installed. Soil conditions and installation quality can affect the measured grounding resistance.
Tips for Safer Home Grounding
Use Suitable Grounding Components
Choose the grounding rod, cable, clamp, and other components based on the requirements of the electrical installation. Using suitable materials helps maintain system reliability over time.
Make Sure Every Connection Is Secure
Check the connection between the grounding cable and grounding rod. Make sure the clamp is tight and maintains good electrical contact.
Protect the Grounding Cable with Conduit
A conduit pipe helps protect the cable from impact, friction, and other physical damage. It also makes the cable route cleaner and more organized.
Do Not Connect Ground and Neutral Randomly
Ground and neutral have different functions. Do not connect them together without following the proper system design. Grounding and bonding arrangements should follow the electrical installation design and applicable standards.
Test the Grounding System After Installation
Grounding installation should be followed by resistance testing using a suitable measuring instrument. The test result can help determine whether the grounding system is performing as required.
Grounding is an important part of a home's electrical installation because it provides a path for fault current to flow into the earth. Installing a grounding system requires a grounding rod, grounding cable, clamp, conduit pipe, and suitable tools. After installation, measuring the grounding resistance is also important to check the condition of the system.
For accurate grounding measurements, use an earth tester that matches your work requirements. Listrik Kita provides original and warranted Hioki earth testers for grounding measurement needs. Find and buy a Hioki earth tester at Listrik Kita to support electrical installation and grounding system inspection.
