


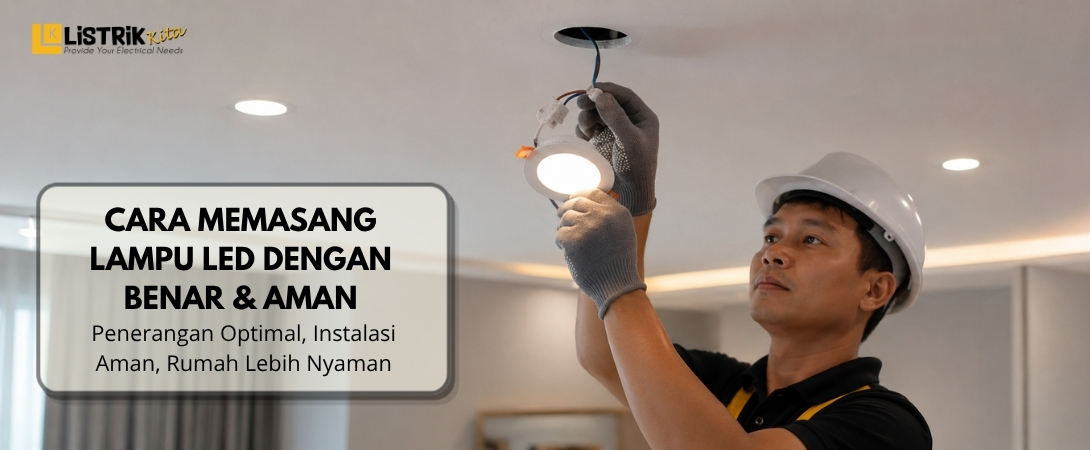
LED lights are widely used in homes, offices, stores, and many other spaces. They provide bright and efficient lighting and are available in different shapes, sizes, and power options. However, proper installation is still important to make sure the light works well and the electrical installation remains safe.
When using an E27 socket, installing an LED light can be relatively simple. Even so, you still need to pay attention to the wiring and power connection. Here are the steps you can follow before installing an LED light.
How to Install LED Lights Safely and Correctly
1. Choose the Right Installation Point
Start by deciding where the LED light should be installed. Consider the function of the room and which areas need enough lighting. For example, a workspace should have enough light around the desk, while a living room may need more evenly distributed lighting.
Make sure the installation point does not interfere with daily activities and can still be accessed when the light needs to be checked or replaced.
2. Prepare the LED Light and Check Its Condition
Prepare the LED light, E27 socket, cable, and other tools needed for the installation. Check each component before starting and make sure there are no cracks, broken parts, exposed wires, or other signs of damage.
Using components that are in good condition can help reduce potential problems during installation and daily use.
3. Connect the Wires to the E27 Socket Correctly
Connect the wires to the E27 socket according to the appropriate terminals. Pay attention to the phase and neutral conductors and follow the terminal markings on the socket.
Make sure the wire connections are secure and that no conductor is left exposed. Always turn off the power before working with electrical wires or connections.
4. Adjust the Cable Length
The cable should be long enough to reach the power source without creating tension on the connection.
Avoid using a cable that is too short because it can make installation difficult. If the cable is too long, arrange it neatly so it does not hang loosely or interfere with the area around the light.
5. Secure the E27 Socket Properly
Once the wires are connected, install the E27 socket at the selected location. Make sure it is firmly attached and does not move easily.
A stable socket helps keep the LED light secure and reduces the chance of the socket becoming loose when the bulb is installed or removed.
6. Use a Ladder Safely for High Installation Points
If the installation point is high, use a sturdy ladder. Place it on a flat surface and make sure it is stable before climbing.
Do not try to reach the installation point from an unsafe or unbalanced position. If the area is difficult to access, consider asking a qualified electrician for help.
7. Secure the Cable Toward the Power Source
Next, route the cable toward the power source. Use suitable cable clips or fasteners to keep the cable in place.
Properly arranged cables make the installation look cleaner and can also reduce the risk of the cable being pulled, stepped on, or caught.
8. Install the LED Light into the E27 Socket
Once the socket is securely installed, attach the LED bulb to the E27 socket. Turn the bulb gently until it is properly seated.
Do not apply excessive force because it may damage the bulb or socket. Make sure the bulb is not loose after installation.
9. Connect the Wiring to the Power Source and Test the Light
After completing the installation, check all connections once again. Make sure everything is secure before turning the power back on.
Switch on the light and check whether it works normally. If the light does not turn on, flickers, or shows unusual signs, turn off the power and inspect the installation.
10. Make Sure the Light Works Properly
If the LED light turns on steadily without any unusual signs, the installation can be considered complete. Check the socket, cable, and light one more time to make sure everything remains secure.
A final inspection helps ensure that the installation is both functional and safe for everyday use.
Safety Tips for Installing LED Lights
Turn Off the Power Before Starting
Always switch off the electrical power before working on the cable, socket, or other electrical components. This is an important step to reduce the risk of electric shock.
Use the Right Tools
Use proper tools that are suitable for electrical work and make sure they are in good condition. Damaged tools can make the installation more difficult and increase the risk of accidents.
Do Not Use Damaged Components
Do not use LED lights, cables, or sockets that are cracked, damaged, or have exposed wires. Replace damaged components before turning the installation on.
When Should You Ask an Electrician for Help?
The Installation Requires Changes to the Electrical System
If the installation requires major changes or additions to the electrical system, it is better to let a qualified electrician handle the work.
The Installation Point Is Difficult to Reach
High or difficult-to-reach areas can increase the risk of accidents. Do not force yourself to install the light if the working conditions are unsafe.
There Is a Problem with the Cable or Power Source
If you notice a hot cable, burning smell, sparks, or other electrical problems, stop the installation and ask an electrician to inspect the system.
Proper installation works best when you use suitable and reliable lighting products. If you are looking for quality LED lights for your home, office, store, or other spaces, explore the LED light options available at Listrik Kita. Choose a product based on your lighting needs and installation specifications to create comfortable and effective light
