

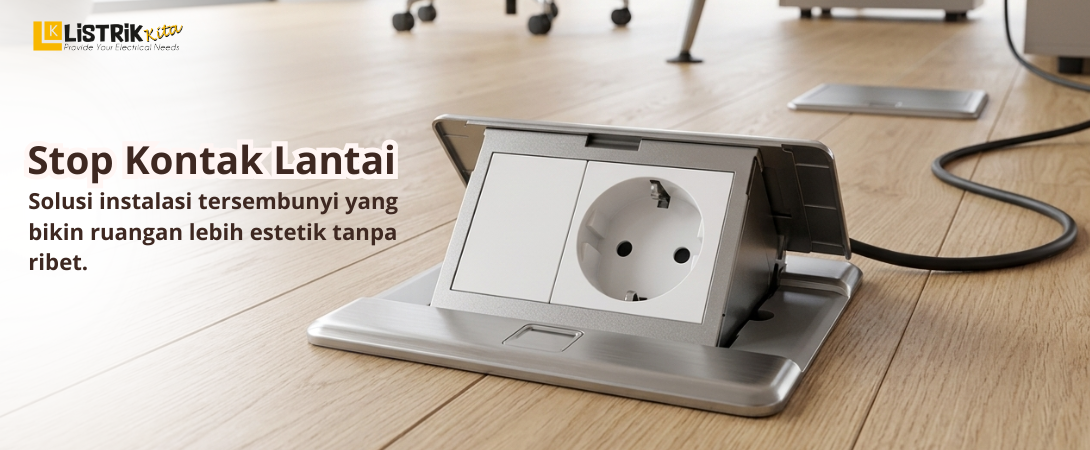
Floor sockets are becoming increasingly popular in modern homes, offices, meeting rooms, and commercial spaces. Their placement on the floor makes it easier to access electricity without relying only on wall outlets. Besides creating a cleaner room appearance, floor sockets also help reduce messy cables that can disturb daily activities.
However, installing a floor socket should not be done carelessly. Incorrect installation may increase the risk of electrical damage and safety hazards. That is why understanding the correct installation steps is important to ensure the result is safe, neat, and durable.
Things to Prepare Before Installation
Choose the Right and Safe Installation Spot
The first step before installing a floor socket is choosing the right location. Select an area that is easy to access and suitable for electronic devices usage. Avoid installing it in places exposed to water or high humidity because this can increase the risk of short circuits.
You should also make sure the installation point does not interfere with walking areas so the socket cover remains protected from excessive pressure.
Prepare Electrical Tools and Supporting Materials
Before starting the installation, prepare tools such as screwdrivers, pliers, floor drilling tools, electrical cables, cable conduits, and the floor socket box. Using high quality materials can improve safety and durability over time.
Make sure the floor socket also matches the electrical power requirements of the area.
Floor Socket Installation Steps
Create an Opening on the Floor Surface
After deciding the installation point, create an opening on the floor according to the size of the floor socket box. This process should be done carefully to keep the surrounding area neat and undamaged.
Accurate measurement is important so the box can fit securely without becoming loose during use.
Install the Floor Socket
Once the opening is ready, place the floor socket box into the floor. Make sure the installation position is level with the floor surface for a cleaner and safer appearance.
Tighten the locking parts or screws properly so the socket stays stable when electronic devices are connected.
Pull and Connect the Cable to the Socket
The next step is pulling the electrical cable to the installation point. Use cable protection to help keep the wiring safe and reduce the risk of cable damage caused by pressure or friction.
Connect the cable to the socket terminal correctly. Make sure every connection is secure so the electrical flow remains stable and safe.
Before connecting the wiring, always turn off the electricity supply to avoid electric shock risks.
Finishing and Testing the Floor Socket
Close It with a Protective Cover
After the installation is complete, attach the protective cover to the floor socket. This cover helps protect the socket from dust, dirt, and light impacts.
Choose a durable cover that is also easy to open and close for daily convenience.
Test the Floor Socket
The final step is testing the socket to make sure it works properly. Plug in an electronic device and check whether the electricity flows normally.
Make sure there are no sparks, loose connections, or excessive heat coming from the socket. If everything works properly, the floor socket is ready to use.
Proper floor socket installation can create a safer, cleaner, and more practical electrical setup for long term use. If you are looking for high quality floor sockets for homes, offices, or commercial spaces, explore the best electrical products from Listrik Kita for reliable and trusted solutions.
